Creating a Form
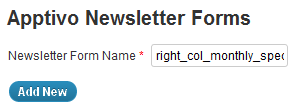
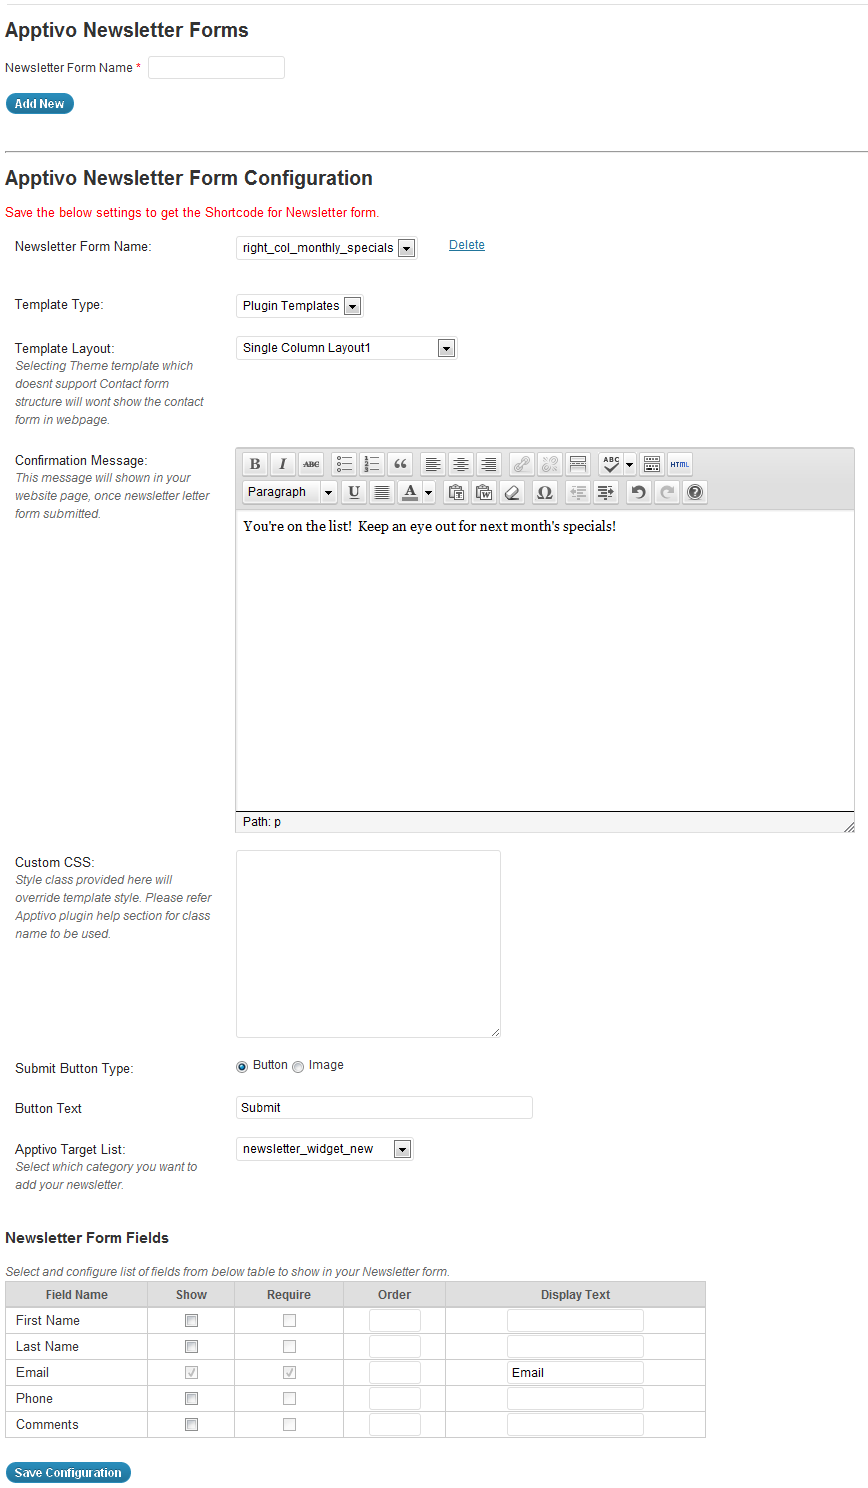
The first thing we’ll need to do is create a new form. We’ll create a different form for every different placement of the form on your website, so name this appropriately. In this example, we’ll call it “right_col_monthly_specials”. Simply navigate to the “Newsletter” link in the Apptivo section of your WordPress dashboard, enter in the form name you choose, and click “Add New”.
Basic Form Configuration
Template Type & Template Layout
Template and Template Types allow you to control the HTML structure and layout of the form. For details on creating custom templates, see the advanced configuration section.
Confirmation Message
This is the message that will appear to the end-user when they submit the form.
Custom CSS
Custom CSS allows you to change the look & feel of the form itself. For details on using custom CSS, see the advanced configuration section.
Submit Button Type
You can configure this form to either display an HTML submit button with your text, or you can create a custom image to use for the button.
Button Text/Button Image URL
Based on the previous selection, you will either provide the text that appears on the button, or a URL where the button image can be found.
Apptivo Target List
Previously we defined the name of the collection form, but this is the other major component of our newsletter list. A “Target List” is the grouping of users, typically related to the same marketing campaign, that submissions will be sent to. For example, we may have a “monthly_specials” target list created to go with our “right_col_monthly_specials” newsletter form.
In order to create new target lists, we will need to log into Apptivo and use the Target Lists App. This is covered in detail below in the “How it Works with Apptivo” section.
Newsletter Form Fields
Here is where you configure what fields are collected from the user. You can add a field by checking the “show” box, and force a user to complete the field by selecting “require”. Also, customize the order the fields appear in, and the text that is shown next to the field as well.


